
Setup Firebase Cloud Messaging(FCM) push notification for Flutter apps.
Greeting from InspireUI, this is the detailed guide to clarify detail guidelines to set up the Firebase Cloud Messaging(FCM) use to push notification for the Fluxstore Projects, you could use as a reference to apply for other Flutter App.
1. Video guide
2. Setup FCM push notification in Android
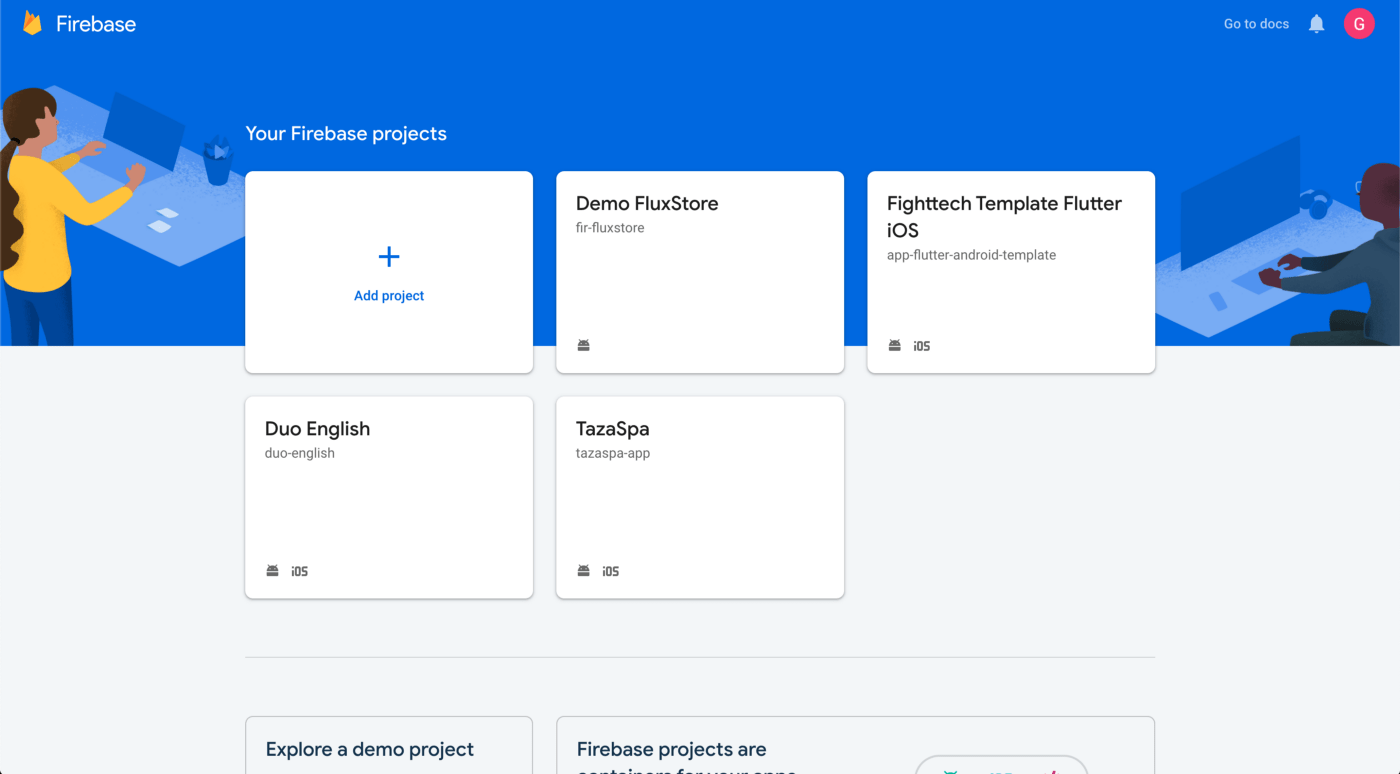
Step 1: Open your project in https://console.firebase.google.com/

Step 2: Open your firebase project console, click the gear icon in the upper left corner and select Project setting

Step 3: Select the Android icon in the Your apps section

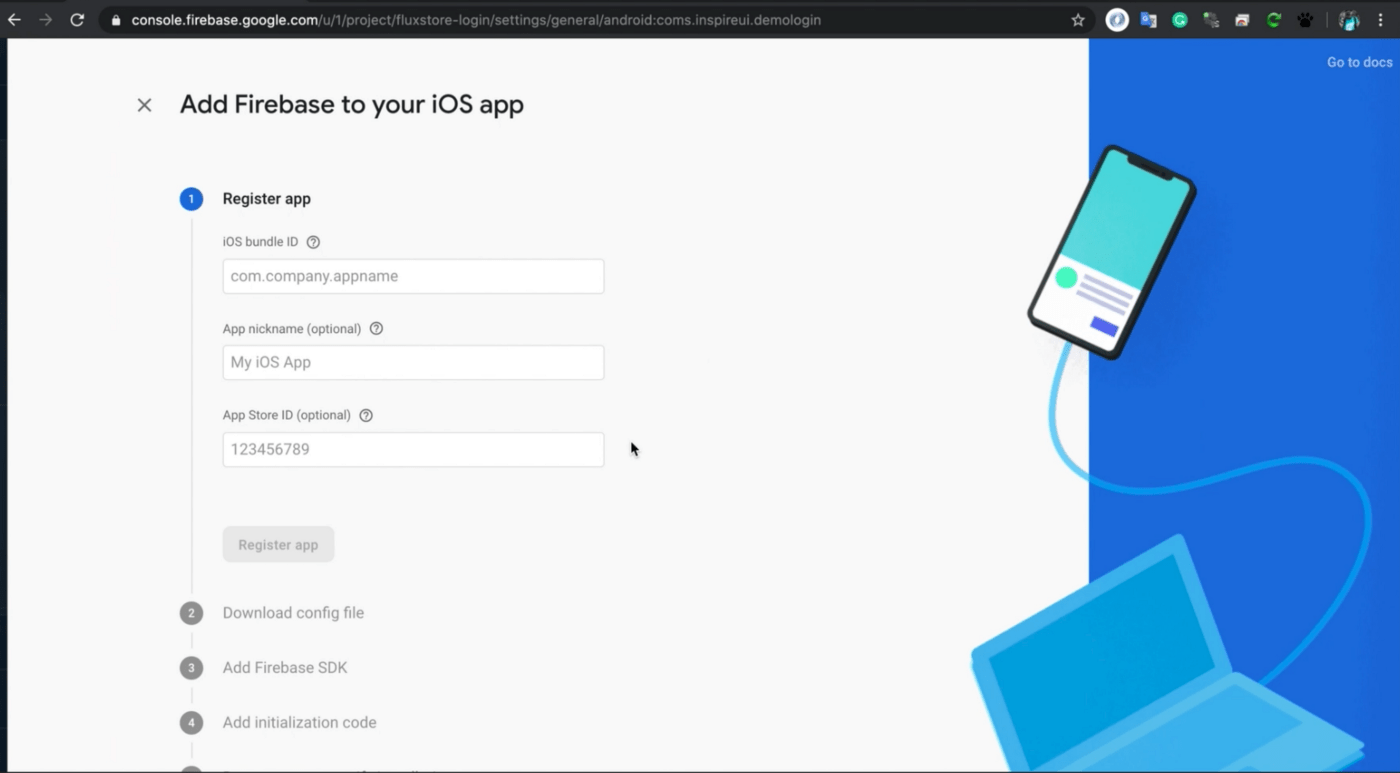
Step 4: Enter info your app

- Android package name is name package of android. Open file
android/app/src/main/AndroidManifest.xml, in first line, copy package name after keywordpackage

Fill info and click Register app (You can omit the Debug signing certificate SHA-1 parameter)

Step 5: Download file google-service.json and move to folder <project-name>/android/app

If your folder <project-name>/android/app already has a file google-service.json, delete it and make sure the file name is exactly google-service.json
Click next to continue…
Step 6: This step is Add Firebase SDK, because our project has all setup already, so just click next to continue.

Step 7: At this stage, it is possible that firebase will not detect your test device, but that’s okay, just click Skip step to continue with the following steps. (In case Firebase detect can click Continue to console)

Step 8: Back to your project, run flutter clean and then flutter run
Complete the setup process, now push notification from your firebase.

3. Setup FCM push notification in IOS
Note: if you build and have an error and cannot push notifications in the background and the log returns on Xcode ``Can’t end BackgroundTask … ‘’ then you may be experiencing errors with iOS versions smaller than version 13.4 and Xcode from version 11. You can view this error at https://forums.developer.apple.com/thread/121990 **Until iOS 13.4, this problem was fixed.
For now, let’s start the setup …
- Create Project in Console.Firebase.
- Open your firebase project console, click the gear icon in the upper left corner and select
Project setting
- Select the IOS icon in the
Your appssection
- Fill in the information with:
- IOS bundle Id: is bundle ID taken from your application. You can find them by going to project flutter, searching for keyword
PRODUCT_BUNDLE_IDENTIFIERin fileios/Runner.xcodeproj/project.pbxproj - Enter app nick name (the name here is only used to distinguish between applications on firebase so you can set arbitrary).
- App Store ID you can omit this parameter.
- Click
Register app
- Click on the buttont
Download GoogleService-info.plistto download the file. - Copy it to the ios directory of your project. If the
GoogleService-info.plistfile already exists, delete the old file and copy the new file.
- Click
Next
- This step is already installed in FluxStore source, click
Nextto continue
- This step is already included in the FluxStore source, but it seems to be obsolete.
- You can fix it by removing some unnecessary code. The result will look like this
import UIKit
    import Flutter
    import GoogleMaps
    import Firebase
    @UIApplicationMain
    @objc class AppDelegate: FlutterAppDelegate {
      override func application(
        _ application: UIApplication,
        didFinishLaunchingWithOptions launchOptions: [UIApplication.LaunchOptionsKey: Any]?
      ) -> Bool {
        if #available(iOS 10.0, *) {
          UNUserNotificationCenter.current().delegate = self as? UNUserNotificationCenterDelegate
        }
        GMSServices.provideAPIKey("your-google-api-key-here")
        GeneratedPluginRegistrant.register(with: self)
        return super.application(application, didFinishLaunchingWithOptions: launchOptions)
      }
}- click
Nextto continue
- Next press
Skip the step
Complete the process of creating an IOS application on firebase. Next, install Cloud Messaging to be able to push notifications on iOS. Click Cloud Messaging as shown:
Installing Cloud Messaging requires you to upload the auth key APNs here.
To get this key, you must have an apple developer account. Visit page https://developer.apple.com select Account as shown:
- Then choose
Certificates, identifiers & Profiles
- Select Keys in the menu on the left
- Click the plus icon to add a new key
Note: 1 developer apple account can only create 2 keys, please consider before creating. But you can still delete them if needed.
- Enter the key name and select Apple Push Notification service (APNs) then click
continue
- Click
Register
- Click
Downloadto download the APNs key file
- Return to the firebase console to update the APNs auth key. Click
Upload
- Select the downloaded key
- The key ID is the back part of the downloaded key file name
- Enter Team ID, if you do not know where Team ID is coming from, please click on the question mark as shown in the picture, then click on the
membership tab
- This is Team ID, copy it and enter the form in firebase.
- Click
Upload
- In some cases this error will be displayed (in some cases it will not be). If this is the case, please click
Uploadagain
- If the following screen appears, congratulations, you have successfully configured.
- Now go back to project flutter and continue the installation. Open the file
Runner.xcworkspacewith Xcode
- Show Runner folder out, you will see the GoogleService-info.plist file just now.
- Click on Folder Runner again, select the Signing & Capabilities tab. In the background mode, check the two options of Background fetch and Remote notification have been checked, if not please check these two options.
- Next, click on Capability, find Push Notifications, then double click to select
- Okay, done. Now turn off Xcode and run the command
flutter run - If the app is running for the first time, the app will ask for permission to receive your notifications, please click Allow
- Ok, continue the steps to enter the app. Then turn off the app and reopen firebase to check again.
- Drag the left menu to the bottom, in the Grow section will have Cloud Messaging. Click
Cloud Messaging
- Click
Send your first message
- Create a new messenger, fill in the messenger information and click next.
In step 2, select the application you want to send, here select the IOS application that was configured in firebase before
- Click
Next
- The remaining steps can be ignored, continue to click Review
- click publish
- Okay, go back to the app and check if it works.
3. Distinguish the difference between all Fluxstore apps:
- FluxStore Pro: this is a multi-purpose Flutter app compatible with all Woocommerce, Opencart 3.x, or Magento 2.x websites. If you have already released the website or setup new sites, this product is suitable for your requirements.
- FluxStore Multi Vendor: use this app to build your own marketplace like Amazon, Alibaba… This app is compatible with Woocommerce website and requires to install Dokan or WCFM plugin.
- FluxStore WooCommerce: the features are same with FluxStore Pro, but only focus compatible with any WooCommerce websites.
- FluxNews: compatible with any Wordpress templates
- FluxStore Listing: use to build innovative apps like Airbnb, TripAdvisor, Yelp or FourSquare. This app requires to install one of following WooCommerce templates: Listeo, ListingPro, or MyListing
- FluxStore Shopify: compatible with any Shopify stores
Comments